Don't forget to visit my Etsy shop to see more of my work!
Showing posts with label card making. Show all posts

Wednesday, May 11, 2016

Using Stamps with your Kiwi Lane Templates


Howdy! I'm here today with a few tips for using stamps with your Kiwi Lane Designs templates.

I know you’ve seen all the cute cards, pages and projects over the years with stamped sentiments, titles, journaling spots or other images. But, have you ever wondered what the process would be to use your stamp stash with your templates? While we all have a little bit of our own spin to the process, I’m going to share a few tips and tricks to help you create your own stamped template shapes.

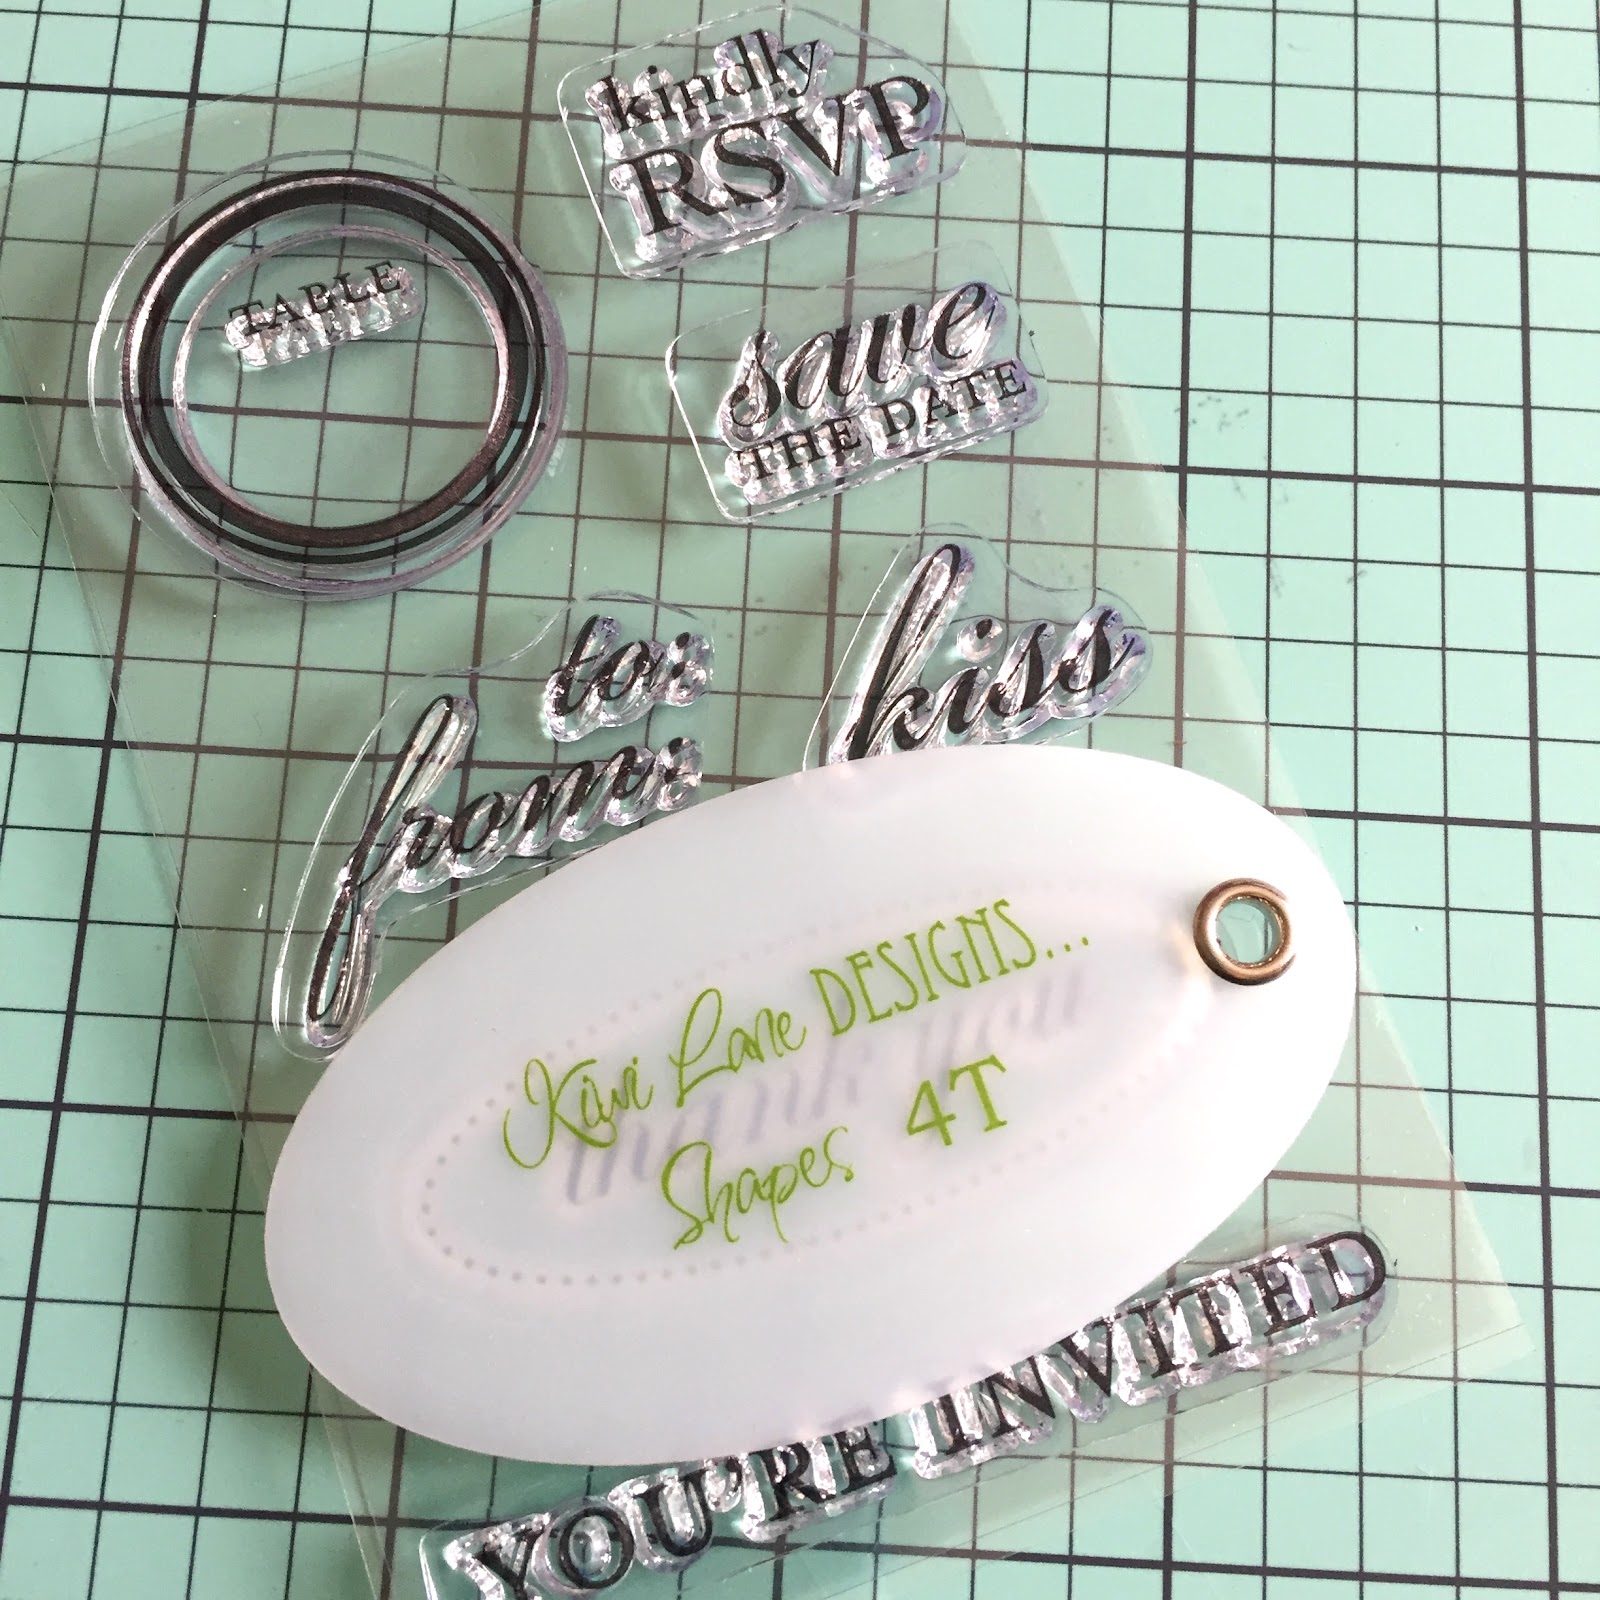
The first step (and the most time consuming) is matching a stamp and a template shape. This is where the translucent property of the templates comes in handy. You can place your template directly over the stamp to see if it’ll fit, like this:
Once you have your template matched with a stamp, you can start Playing to Create using your Kiwi Lane templates. Here’s my framed card:
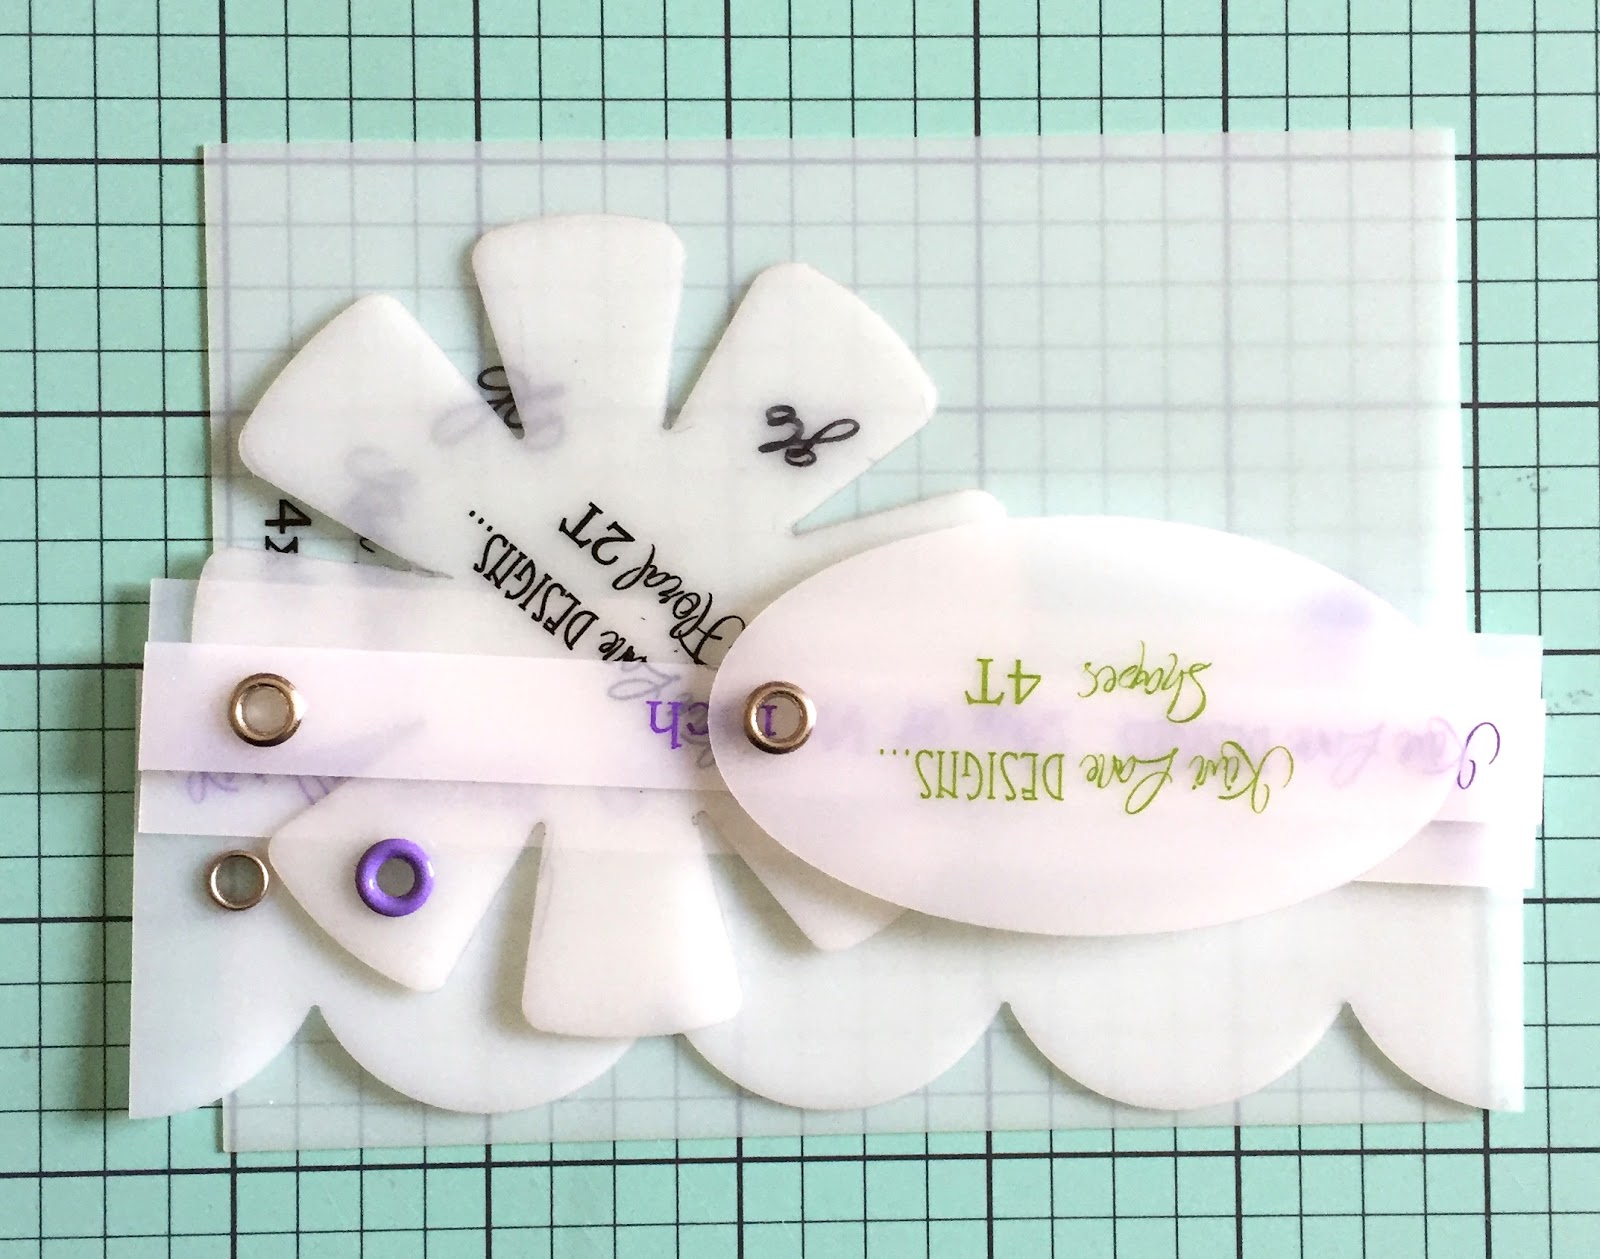
To get a perfectly centered stamped image, first stamp the image on your paper. Make sure you leave enough space around the image to accommodate the template you want to use. Once your stamped image is dry, place the template over the image (again- the awesome translucent property at work!) and trace like so:
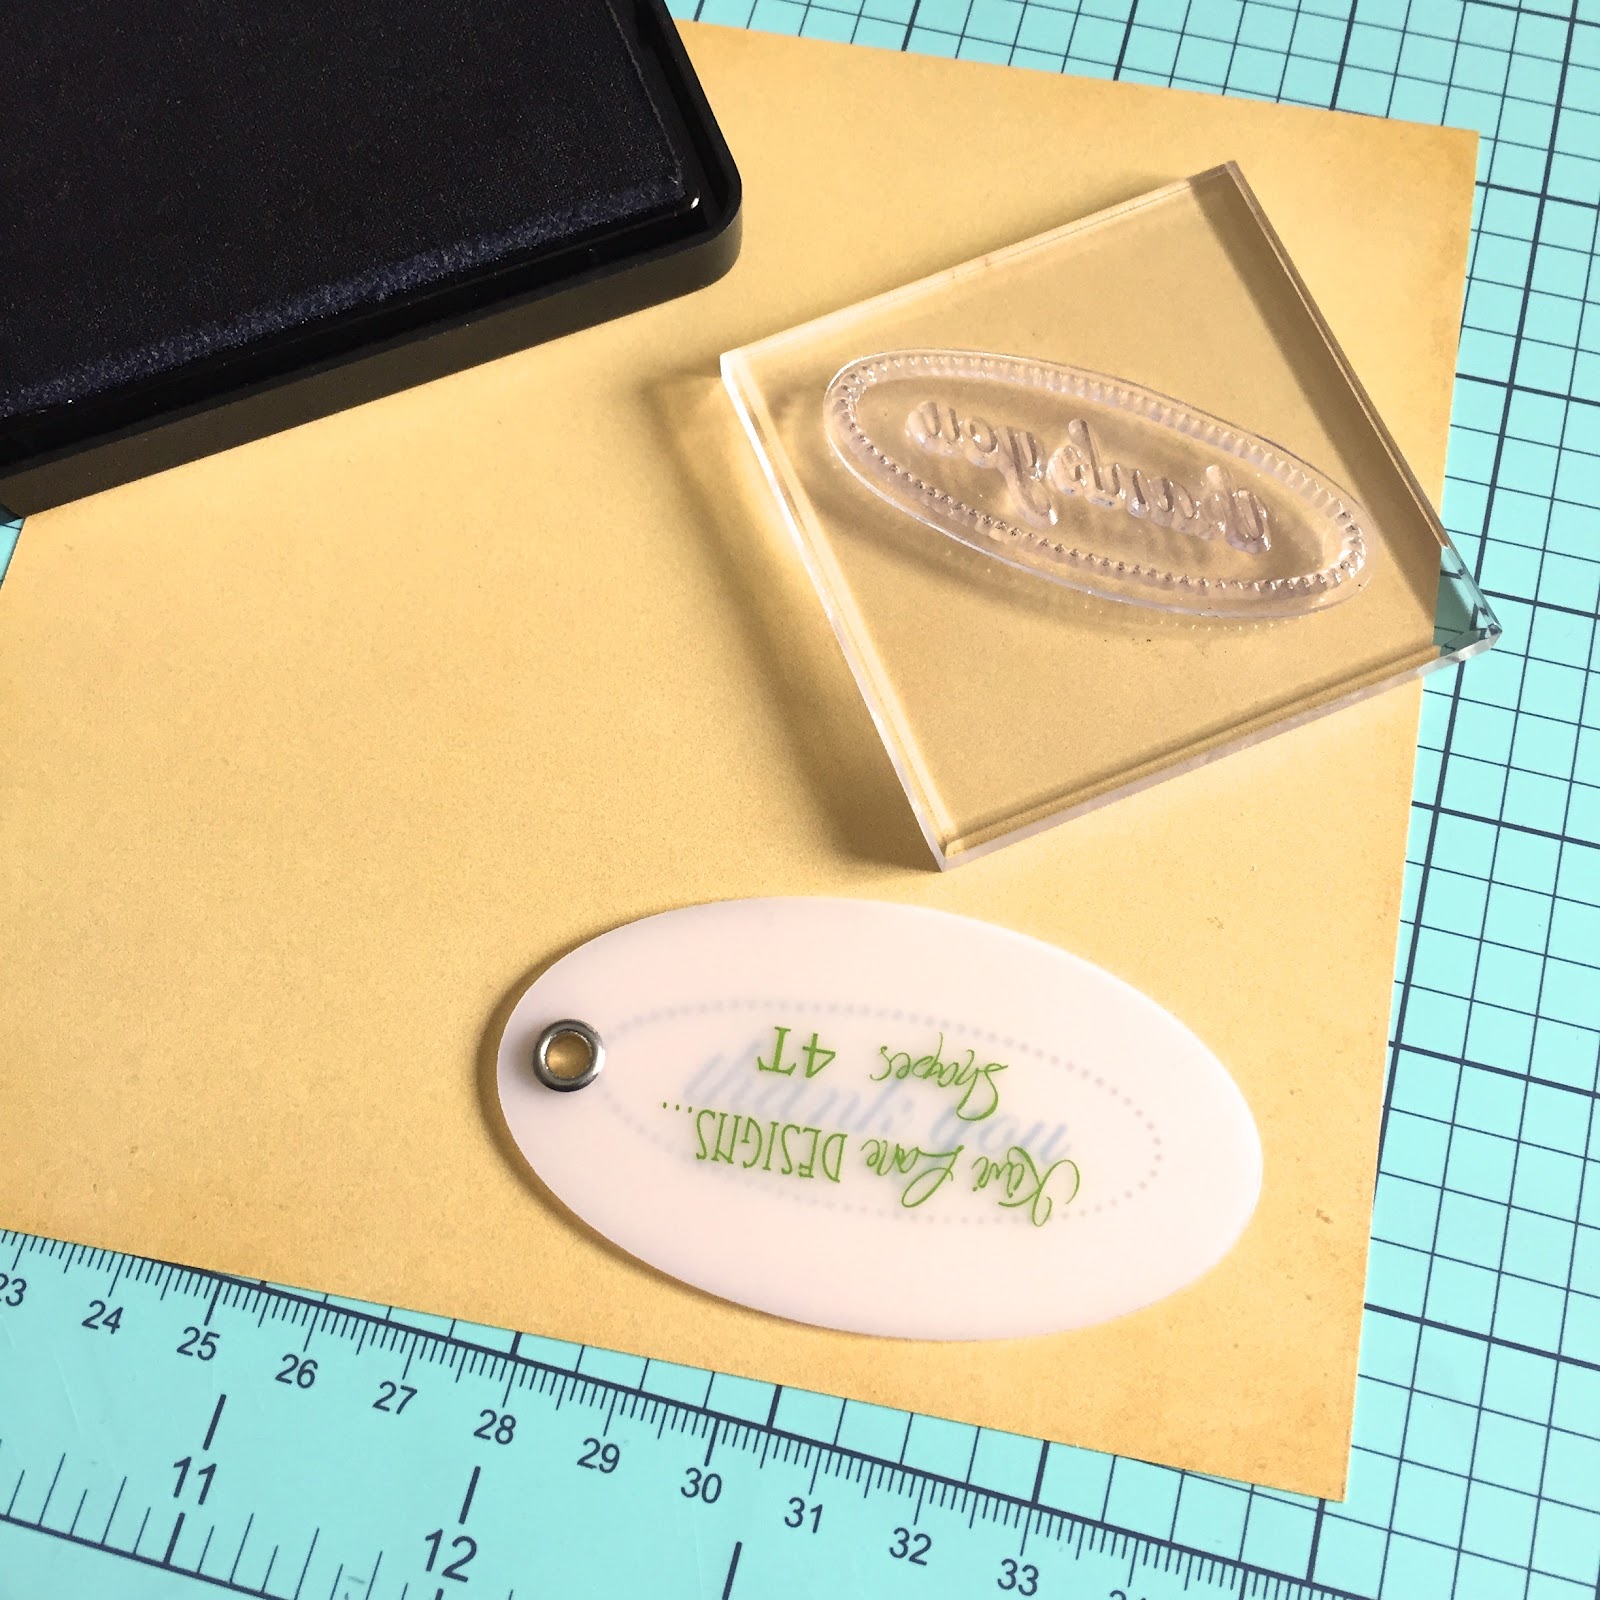
Next, cut out your shape:

And now you’ll continue building your card as you normally would- tracing, cutting, inking and adhering- until you have your finished card:
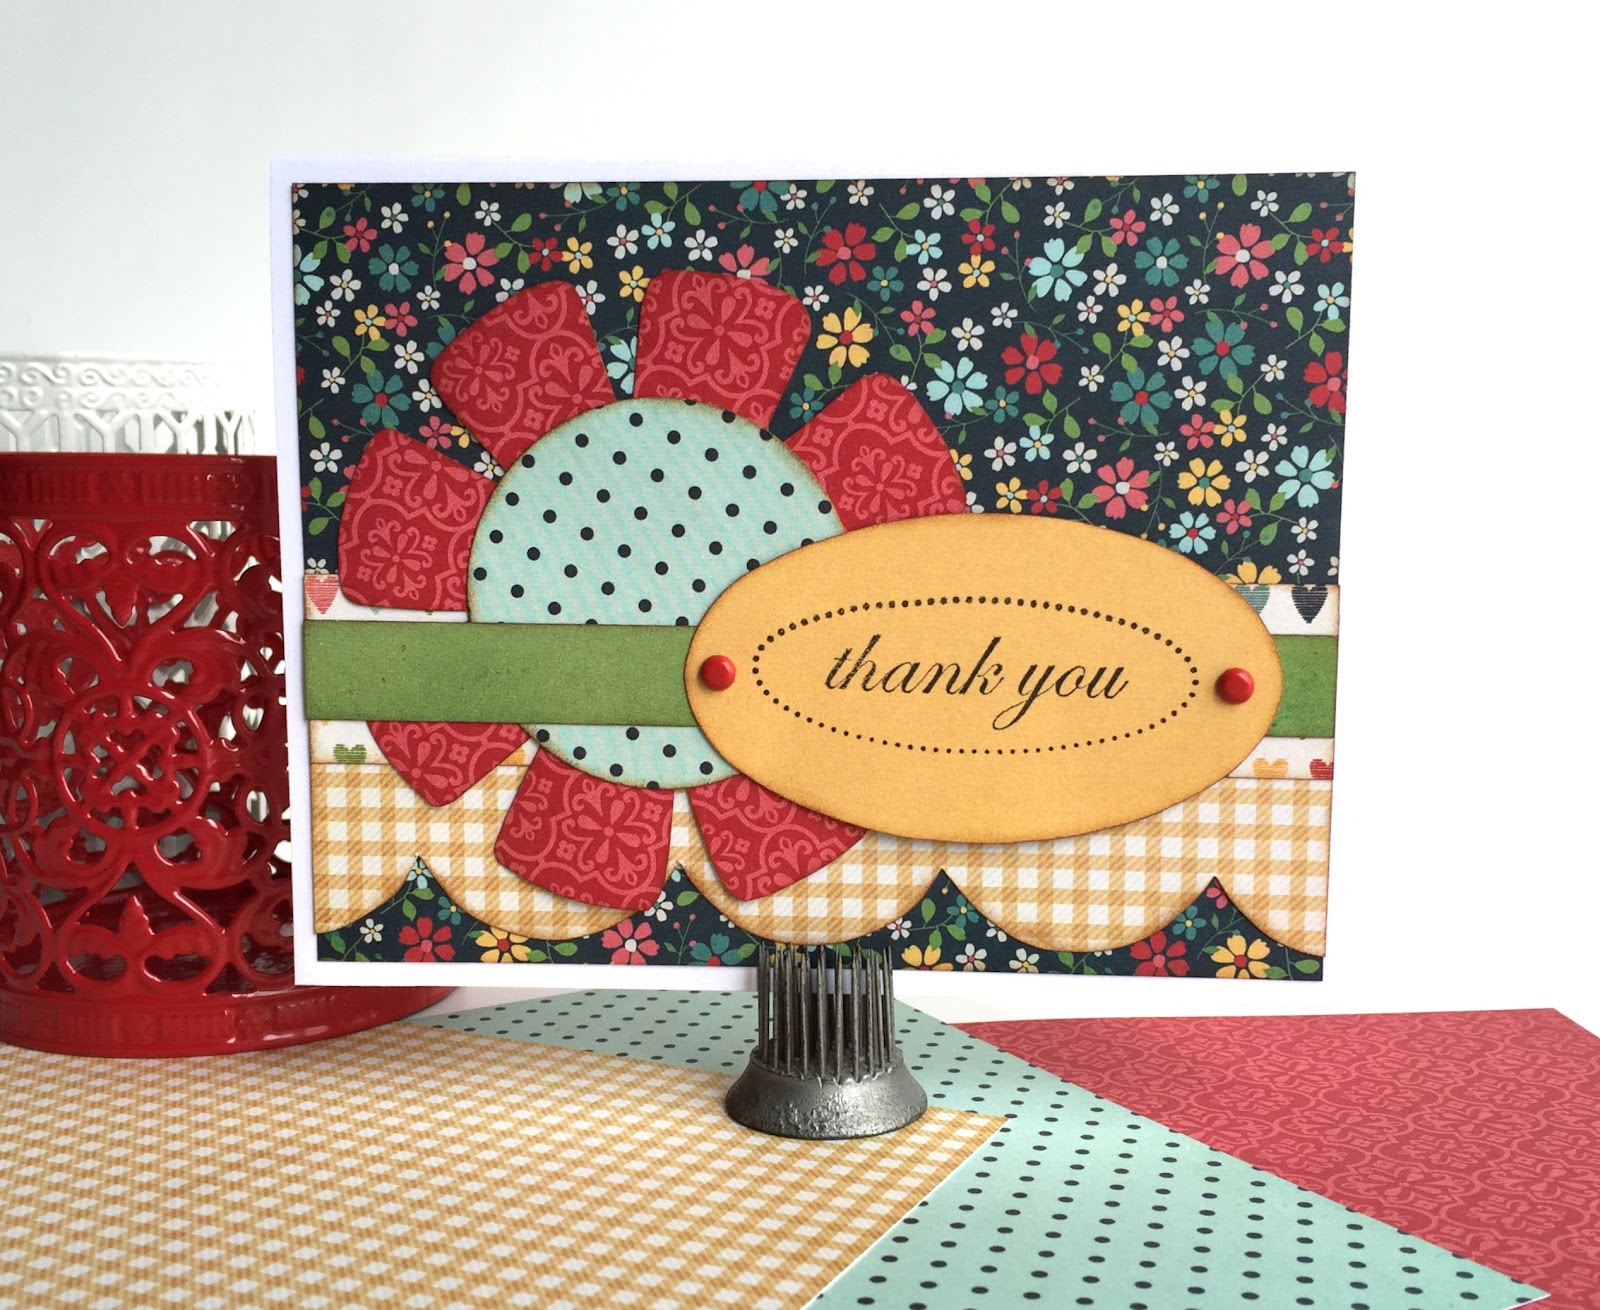
Here are a couple more cards that I made using the same process: 
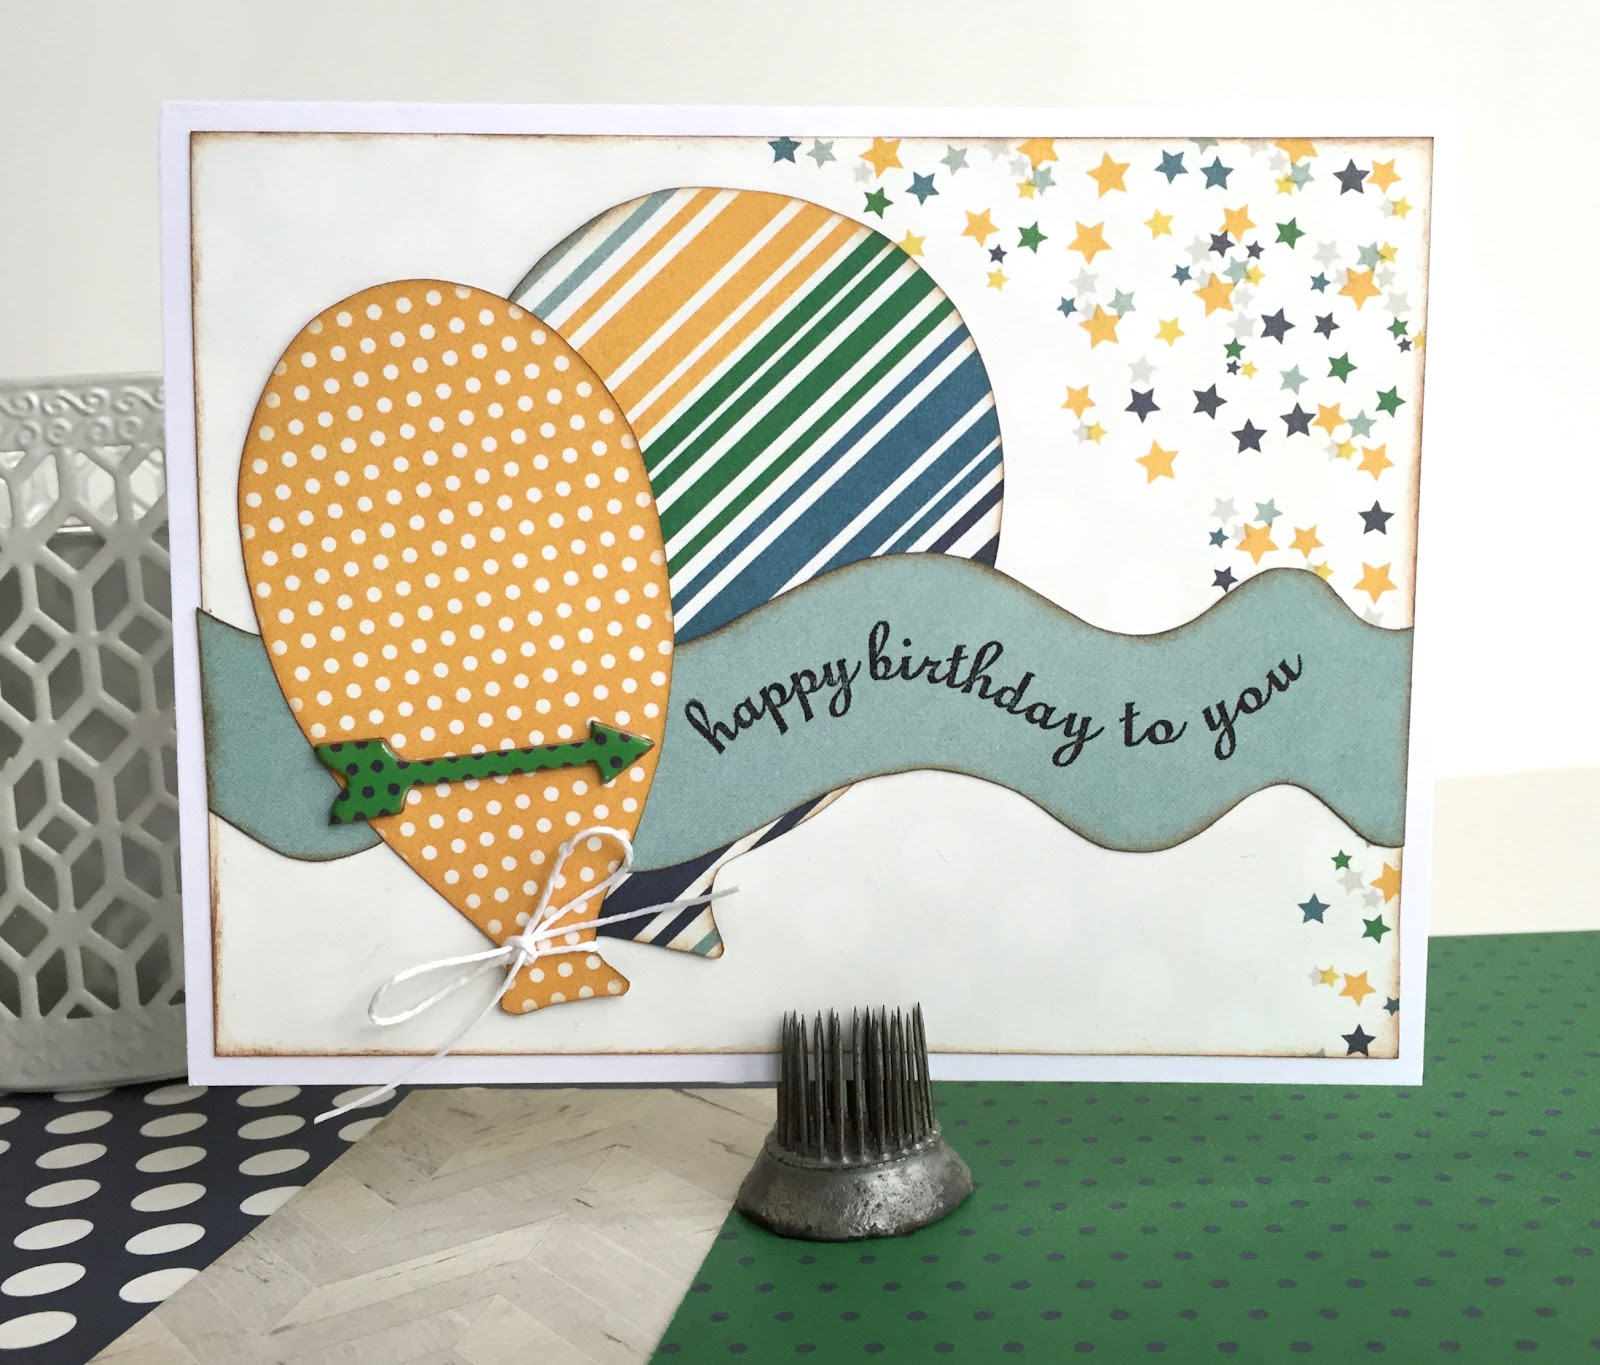
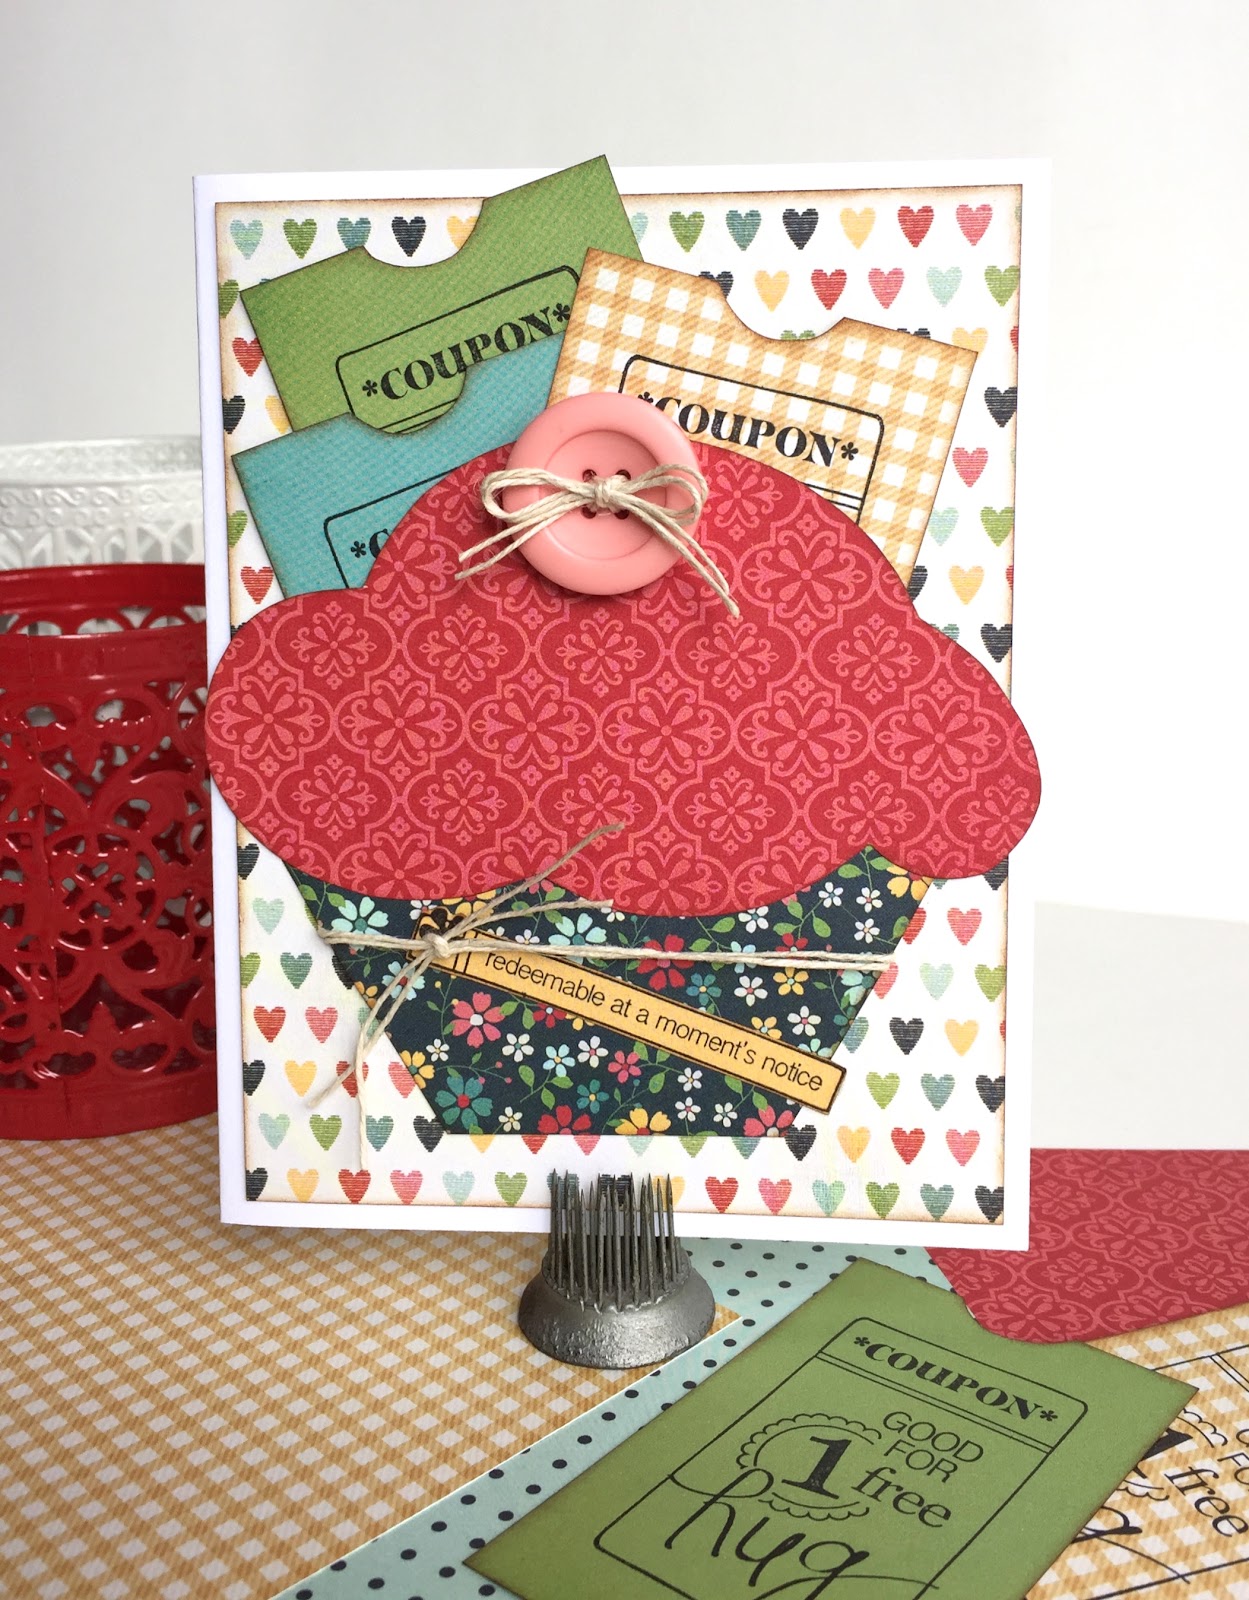
And a quick note- the stamped tickets on the cupcake card are removable coupons for hugs- how cute!!

I hope this little tutorial helped! Now you can work some stamping into your projects when you use your Kiwi Lane templates and the Play to Create System!!

Do you use stamps in your scrapbooking? Have you already begun combining stamps and Designer Templates? If so, please share in the comments section below!

Templates used:
Celebrate 2,3,5
Tiny Celebrate 2T
Delight 3
Tiny Shapes 4T,6T
Tiny Floral 2T
Card Strips

All paper is Simple Stories. Stamps by Making Memories, Studio G, 3 Bugs in a Rug.

Thursday, March 3, 2016

Clovers with Kiwi Lane Designs

March is the month of shamrocks and four leaf clovers. As I was thinking about projects I would like to work on this month, I realized that there weren't any shamrock or four leaf clover shapes in any of my Designer Template sets. I took this as a challenge and decided that I would step outside of the box with my Kiwi Lane Templates, and figure out a way to alter some of the other templates to make my own clover shapes.

Let me share with you how I made three, yes THREE, four leaf clovers with my templates. And then read on to see how I turned those four leaf clovers into three leaf clovers.

For the largest clover, you will want to use the heart in the Tiny Sweetheart set (2T). Trace it four times, overlapping the points like this:


Next, erase the lines that you don't want. A lot of us go into autopilot when we are cutting things out, and it would be really easy to accidentally follow the wrong lines, if you don’t erase them before hand!


Finally, cut it out and you have your first four leaf clover!

For the medium clover, you will use the four-petaled flower shape from the
Springtime Accessory set (5), along with the flower in your
Sweetheart Accessory set (3).


Step 1: Trace the Springtime flower.
Steps 2 & 3: Trace the indent of the Sweetheart flower onto the edge of each of the petals of the Springtime flower.
Step 4: Erase the lines that you don't want.

Cut it out and you have your second four leaf clover!

For the smallest clover, I used the flower shape from my Tiny Sweetheart
Accessory set (3T).


Step 1: Trace your flower.
Steps 2 & 3: Divide and cut your flower into heart/petal shapes as shown.**
Step 4: Use four of those heart/petal shapes to form a clover. Tape it
together and trace this new shape.
**As a side note here, you could skip the dividing and cutting steps by tracing four petals of the flower in an "X" shape. But dividing and cutting helps you move the petals around without having to repeatedly erase.

Cut it out and you have your third four leaf clover!

Now that you have three clovers, they will stack together to make
layers. You can also use the arrow shapes from various template sets
to add a stem.

Ready to add a variation? Let's make them into three leaf clovers!

This one's pretty self explanatory - Just cut one petal/leaf into a stem as you see in the pictures.

These three leaf clovers also layer onto each other and make the perfect addition to a card.

I always try to step out of the box when I Play To Create with my Designer Templates! I love challenging myself to use them in new and unique ways. I hope you enjoyed stepping out of the box with me!

Thanks for stopping by, and don’t forget to share your own out-of-the-box template projects!!


Here are the Templates that I used:
Sweetheart 1,2,3
Tiny Sweetheart 2T,3T
Springtime 5
Mini Aspen Court 2A

Paper collection:

Lucky You by Echo Park

Thursday, February 11, 2016

Valentine's Day Cards with Kiwi Lane Designs

Hello again! I know what you're thinking- two blog posts in a month?! And within 24 hours of each other, no less! I know... don't faint. ;) 

Today, I have a few Valentine's Day cards to share with you, along with a little tip that you can use for any theme- it will work for any of the templates! First off, here are some Valentine's Day cards:


Do you see how there are shapes of white on the background on both cards? That was made by laying Kiwi Lane templates on plain white paper and spraying ink all over the paper. On the "XOXO" card, I left the white background shape untouched and layered some hand cut template shapes on top.  Here's the step by step:

1) Lay templates on the paper where you want them and spray with ink, essentially using the templates as a resist.

2) Let ink dry for a minute and carefully remove templates. (Wash templates under water to remove ink. It should come right off. If not, try washing with a mild soap.)

3) When paper is completely dry, layer smaller templates.

4) Trace, cut, ink and replace to get your card!

There are a few things to point out about this card:
-I originally used a white card base. I decided to cut it down to the piece you see on the front of the card because it warped a little more than I liked. It was an easy fix- you can do the same if you feel like you don't like the way your spray ink warped your paper.  
-I forgot to cover the hole on the template with a little bit of tape before spraying the ink. This made a little dot of color that I didn't really want. I was able to cover it with the layered shape on top, but you might want to cover the hole before you spray your ink. ;)

While the "XOXO" card has plain white resist shapes, I decided that the "Head over Heels" card needed some doodling around the resist shape. I also doodled around the smaller shapes that I layered on the card.

And just because I can, here's another card for your viewing pleasure... and hopefully some template inspiration:

There you go- three cards to help you show some love! I hope you enjoyed them- leave a comment and let me know what you think!

Templates used:
Adorn 2A,2B
Sweetheart 2,3
Tiny Sweetheart 2T,3T
Tiny Accents 1T
Tags 1
Tiny Tags 1T,6T
Tiny Nature 1T

Friday, November 6, 2015

A Layout and a Few Cards with Kiwi Lane

Hello fellow Kiwi Lane fans!  I have a few things to share with you today. And to continue with my theme from some of the last few posts I've done, I used another fabulous Kiwi Lane paper kit to create a single page layout and a few cards, along with this month featured templates- Brackets, Adorn and Autumn.

I used Kiwi Lane's "Social Butterfly" paper kit this month. I have to admit- when I saw this collection, I thought it was going to be way too girly for me to do use very well.  Especially with the Autumn template set.  I mean, it has pink, flowers and butterflies!  BUT, I should have known better!! These Kiwi Lane ladies are genius and know how to make a paper kit so that you don't have to use the girly elements in a way that overpowers the page. Instead, you use the reverse side and smaller pieces of those prints that scream GIRLY GIRL.  And you end up with a project that is just feminine enough without jumping out at you with a tiara, tutu and sparkly wand. I'm telling you, it's pure genius!!

So here's the layout I ended up with:
Supplies: Kiwi Lane's Social Butterfly paper kit; alphabet stickers (American Crafts, Making Memories); ink (Ranger); pen (Staedtler)

And here's how I "Framed" my layout:


Yes, that is a grand total of three templates on my layout.  I had no idea what I wanted to do with the layout when I started.  So I threw on a few templates from the Adorn template set, along with a template from the Bracket set and built my page from there. I added lots of layers of the scalloped edge and mirrored that at the bottom of the page.  I also used one of the printed quotes from the paper kit and added that early on to make sure I left room for it.  I finished off the page with a butterfly from the Tiny Nature set and a few flowers from the Tiny Wildflower set and a title using some alphabet stickers.  

With some of the remaining paper from the kit, I made some cards:
Supplies: Kiwi Lane's Social Butterfly paper kit; card stock (American Crafts); pen (Staedtler); ink (Ranger); stamp (Basic Grey); jewels (craft supply)
 Supplies: Kiwi Lane's Social Butterfly paper kit; card stock (American Crafts); pearl (Doodlebug); brad (American Crafts); ink (Ranger)
Supplies: Kiwi Lane's Social Butterfly paper kit; card stock, alphabet stickers (American Crafts); pearls (Doodlebug); ink (Ranger); pen (Staedtler)


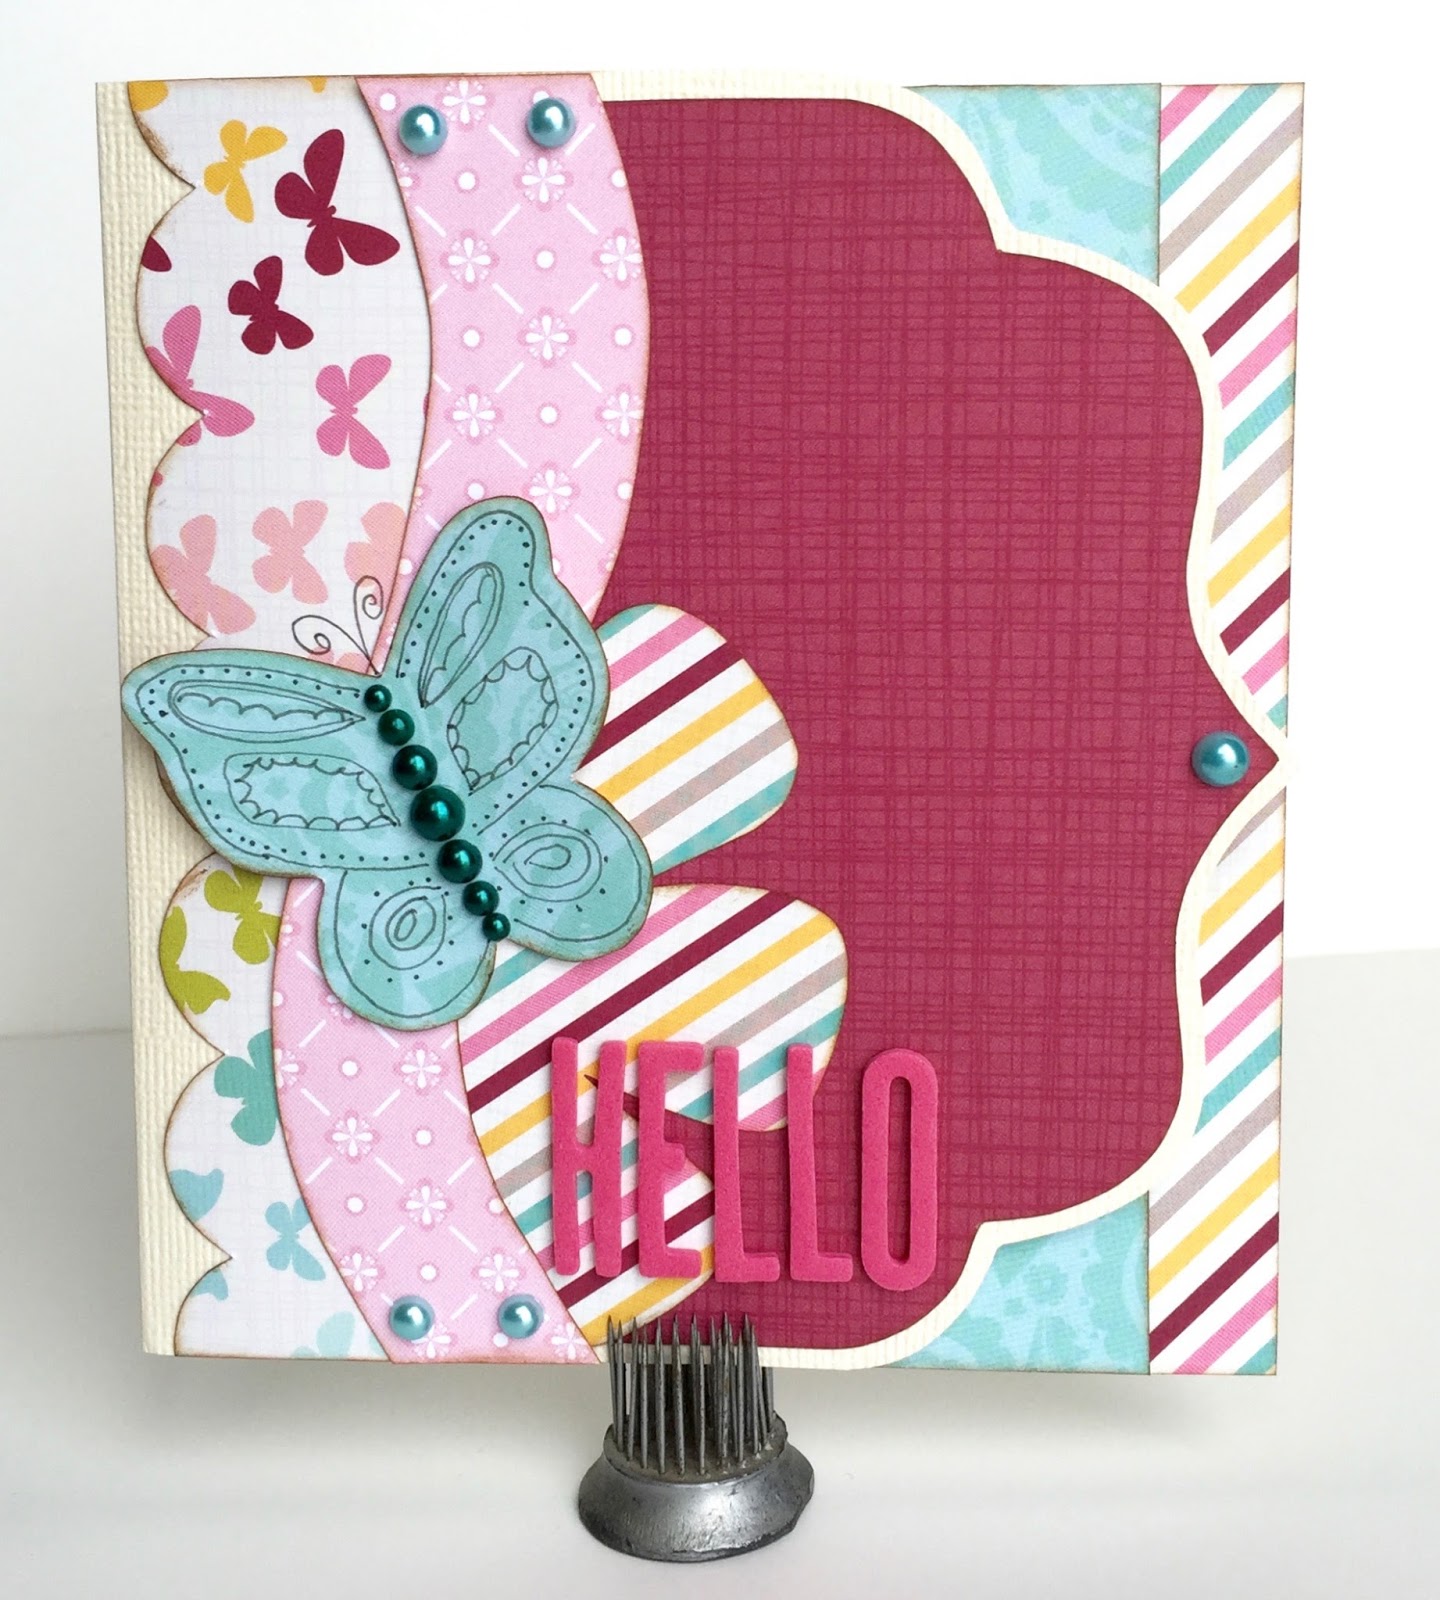
The "Hello" card has a shaped edge and some detail on the inside:


Even after making a layout and a few cards, I have enough scraps of paper left to make at least a few more cards. I love how much you can do with each Kiwi Lane paper kit!

Thanks for stopping by and Happy Scrapping!!

Templates used:
Bracket 2
Adorn 3A,3B,1B
Tiny Nature 2T
Scallops 1B
Wildflower 1T,4T
Autumn 1,3,6
Springtime 2
Mini Scallops 2A

Thursday, October 2, 2014

Happy World Card Making Day!!

....well, it will be on Saturday.  But, around here, we like to get an early start on any party! ;)  And I think a giveaway is in order for this party, right?  Details for that part will be at the end of the post, so look at the pretty cards and then follow the instructions for the giveaway.  Got it?  Good!

Here are some holiday cards I made using my Kiwi Lane Designs Templates:

"Falling For You"

Supplies: cardstock (American Crafts); patterned paper, sticker (Doodlebug Designs); ink (Ranger); pen (Sakura, Staedtler)
Kiwi Lane Templates:
Mini Colter Trails 2A
Nature 4
Tiny Nature 4T
Tiny Holiday 2T
Tiny Brackets 1T
Autumn 2

"Spooky"

Supplies: cardstock (American Crafts); patterned paper (BoBunny); sentiment (Doodlebug Designs); ink (Ranger); enamel dots (My Mind's Eye)
Kiwi Lane Templates:
Autumn 1, 5, 6

"Cornucopia"

Supplies: cardstock (American Crafts); patterned paper, stickers, washi tape (Doodlebug Designs); ink (Ranger); pen (Sakura, Staedtler)
Kiwi Lane Templates:
Celebrate 7
Tiny Shapes 7T
Tiny Holiday 2T
Tiny Nature 1T
Autumn 3

"Let it Snow"

Supplies: card stock, glitter glue (American Crafts); patterned paper (Pebbles, Inc.); brad, twine (Creative Impressions?); ink (Ranger); pen (Sakura, Staedtler)
Kiwi Lane Templates:
Tiny Traditions 3T

"Joy"

Supplies: cardstock (American Crafts); patterned paper (My Mind's Eye); stamp (Studio G); ink (Ranger, Tsukinedo)
Kiwi Lane Templates:
Tiny Holiday 1T
Cedar Trails 1A
Tiny Traditions 2T

So do you feel ready to tackle the holiday card season now?  I hope so!

Now for that giveaway- simply leave me a comment telling me which holiday is your favorite to make cards for.  That's it.  If you want a bonus entry, become a follower of my blog and let me know in your comment that you have become a follower (or let me know that you're already a follower).  You have until Sunday October 5, 2014 at 11:59 pm MDT to leave me a comment to win.  The winner will receive a set of Tiny Holiday Templates like this one:
I hope you enjoyed my cards!  Don't forget to leave a comment to participate in the giveaway!

Thanks for stopping by and Happy Scrapping!